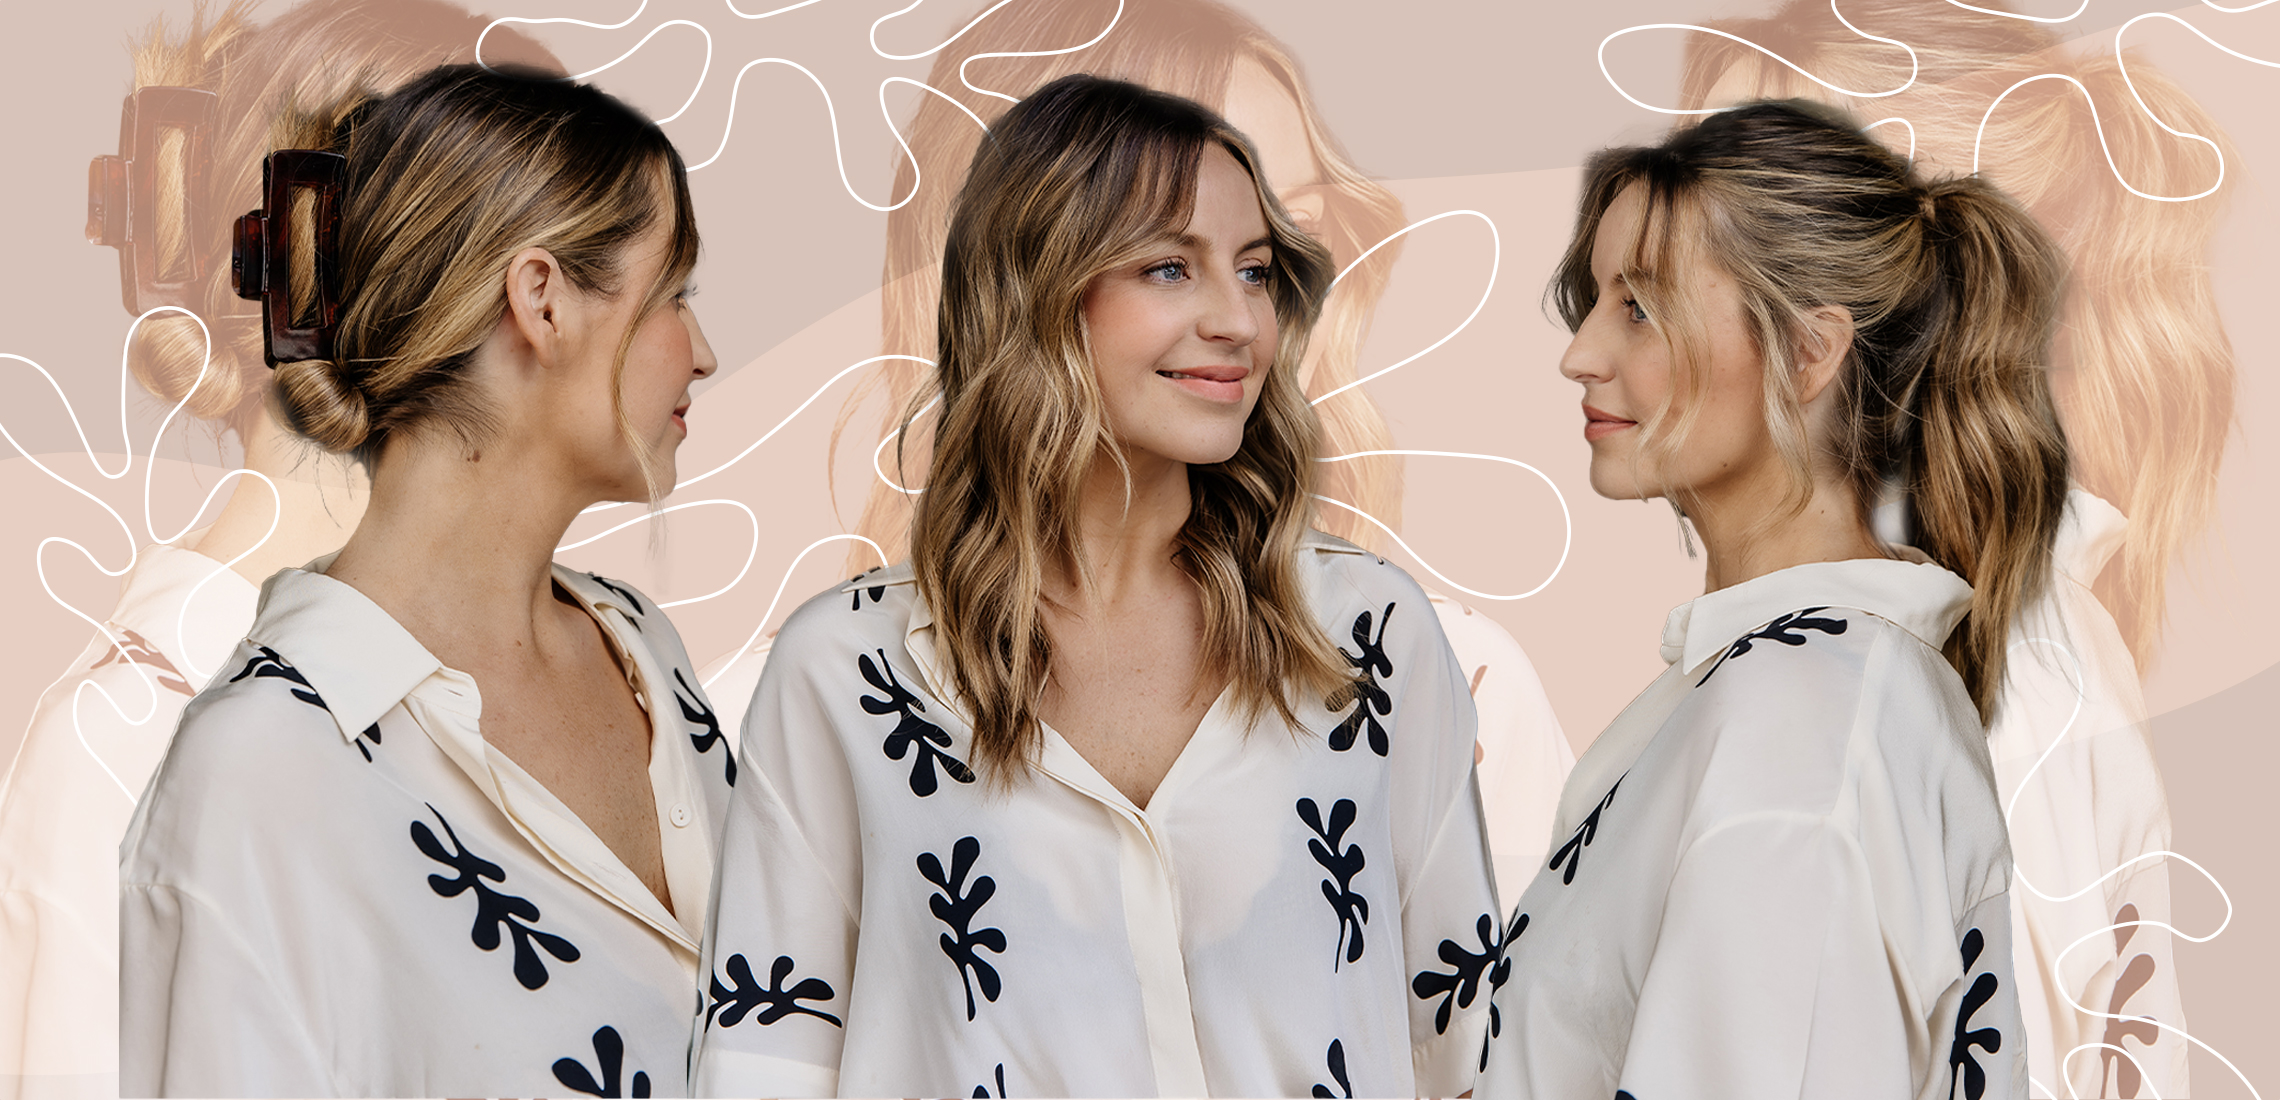
Three Easy Hairstyles To Master For The Girl On The Go
Mad rush, but hair is flush!
Getting yourself and anyone else you might be responsible for (mums, you feel me?) out the door on time looking like a respectable member of society can sometimes be tough, but it doesn’t have to be!
The key is prep and planning ahead for the days to come. And while it might be a case of ‘easier said than done’, one thing is for sure: our hair can look good with minimal effort. Yes, really.
So, whether you slept in late or have to get the kids ready for school with limited time, our good friend, haircutter, and stylist extraordinaire, Jaiden Ogden from EdwardsAndCo in Fortitude Valley has shown us three easy, very wearable styles that you can master to help you get out the door looking polished before the clock strikes.
From carefree, tousled waves to styles that’ll sing you praise, here’s our guide on how to get the most out of your locks when you’re in a rush.
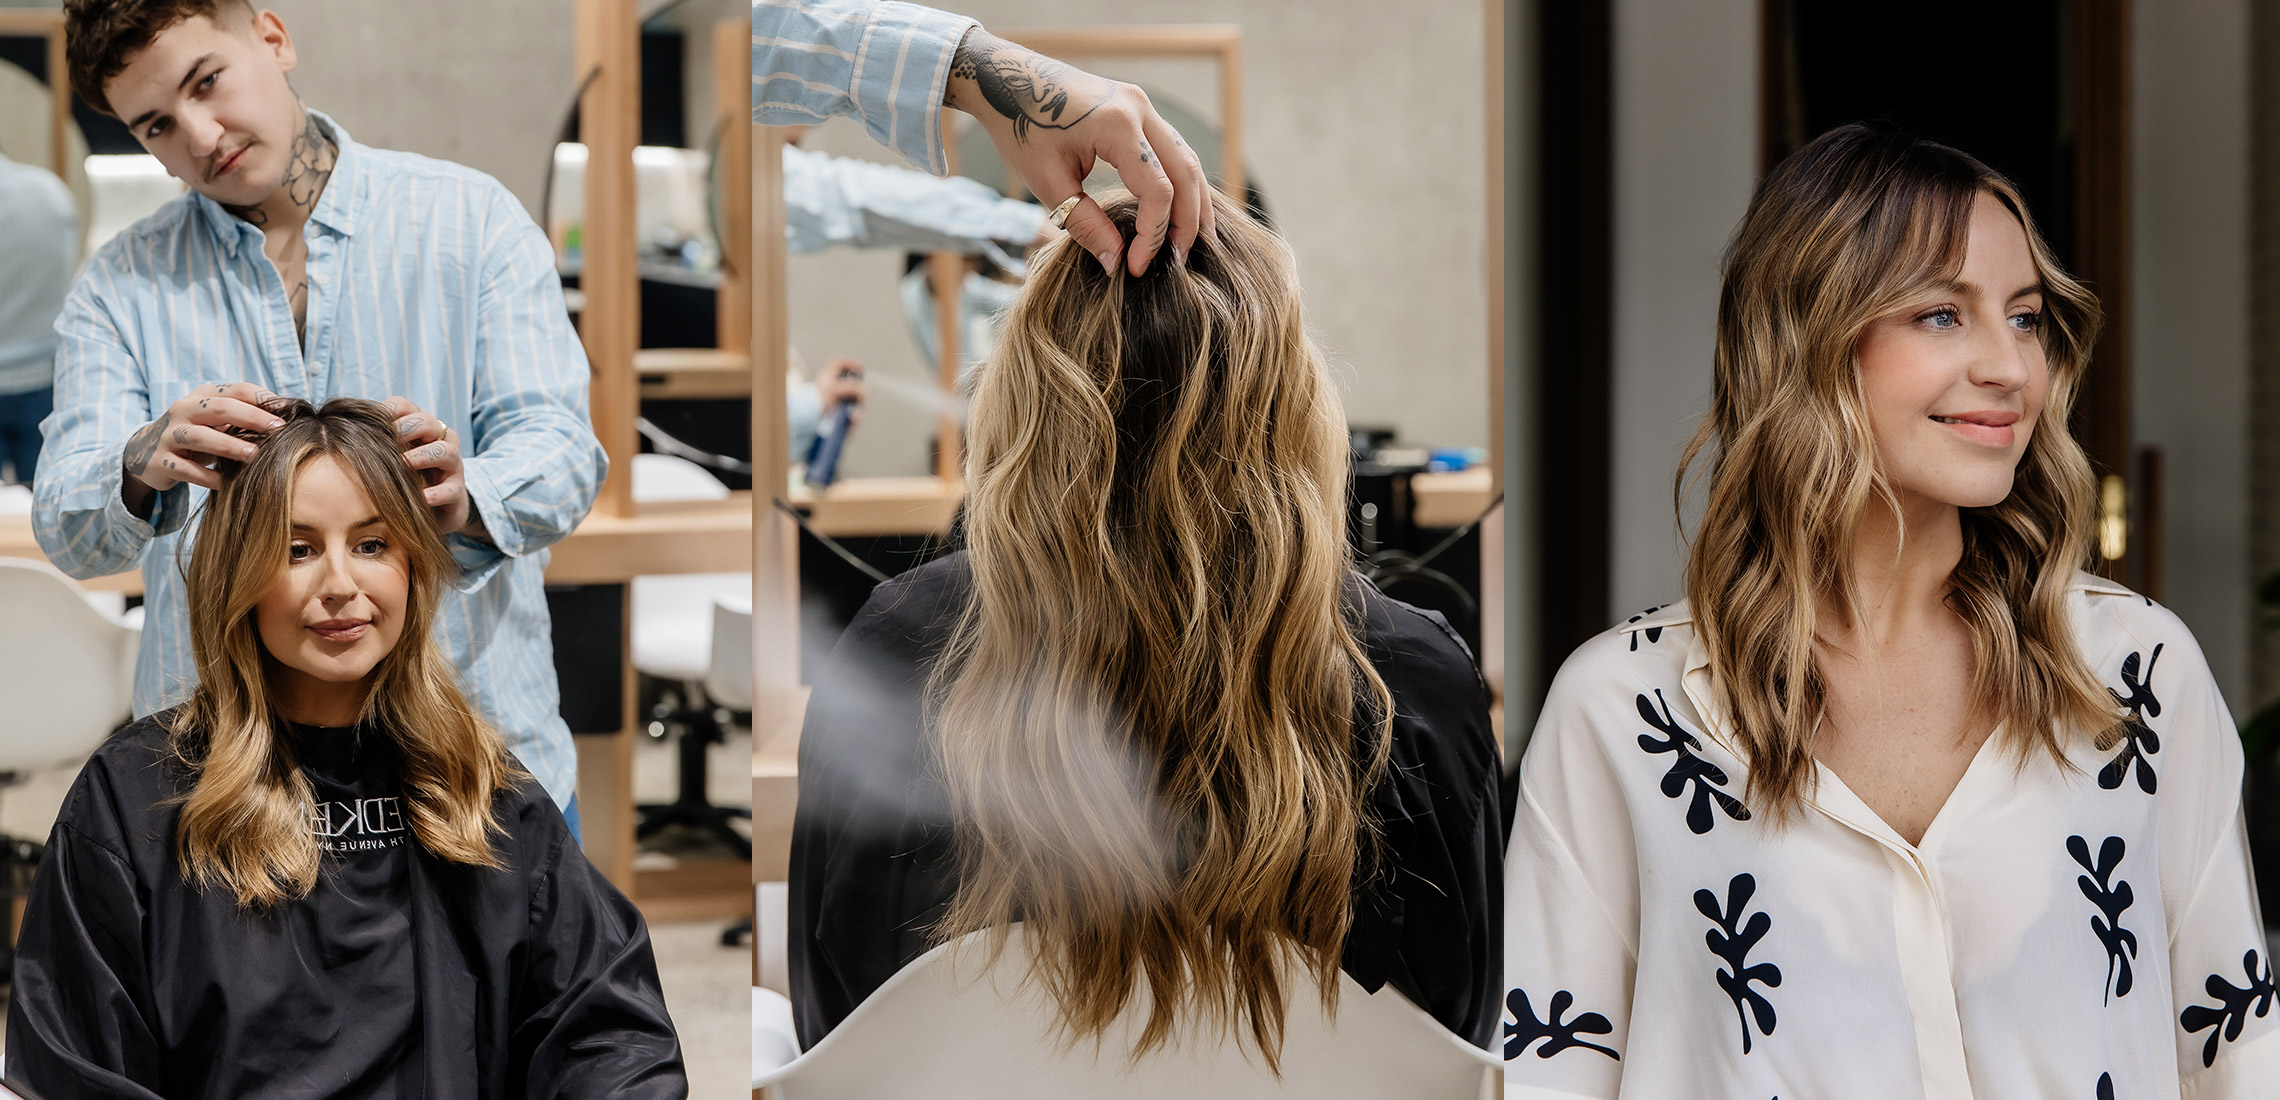
Day 1: Soft waves
Time: 30 mins
You’ll need:
Hairdryer
Barrel brush
Wide tooth comb
Detangling brush
32mm curling tong, with a clip
Blow dry serum
Soft hairspray
Texture spray
Good news, guys! Day one is where you do most of the legwork to get you through the next few days of styles – woo! Today is soft-waves day, which means we’ve got a bit of prep to do to ensure our textured waves go the distance.
Start by blow-drying your freshly washed locks. Using a barrel brush, wrap sections of your hair around the brush, twisting your wrist as you dry. Always start with your face framing sections, as this will help you establish your hair part. As you twist and dry these sections, bring the hair forward (i.e. towards the mirror above eye level, not down), to ensure these hair pieces sit forward. Jaiden says in doing this, you’re helping contour your face by highlighting your cheekbones and eyebrows. Big tick! Work your way to the back of the head in sections, still twisting the brush as you go to get a loose wave effect. Once the entire head is done, brush it out with a wide tooth comb, then hairspray, and brush again.
Next, grab your tong and once again, start with your two front sections, curling away from your face. While the curl is still hot, mould the hair with your fingers into place. Hot hair is malleable and will move much easier into position. Now, work your way from the front of your hair to the back in sections. Hold thicker sections (that is, the ones closer to the back of your head) longer around the tong. Hot tip: leave the bottom section close to your neck, as this will drop anyway. Plus, you’ve already created body and volume with the blow-dry!
Remember when you’re tonging to angle the tong and wrap the hair away from the face. Leave the ends straight for a loose, more lived-in effect.
Jaiden says for us poor-time girls it’s best to do your hair first, then your makeup. As your curls need to cool before you can brush them out, those vital minutes are the perfect time to get your makeup on – two birds, one stone!
Finally, tip your head back and brush out the curls with a wide tooth comb, adding texture spray to the brushed-out look. Place a small amount of hairspray on your fingertips, and apply it to the underside of your face-framing sections to help give them lasting definition.
And now, we race out the door!
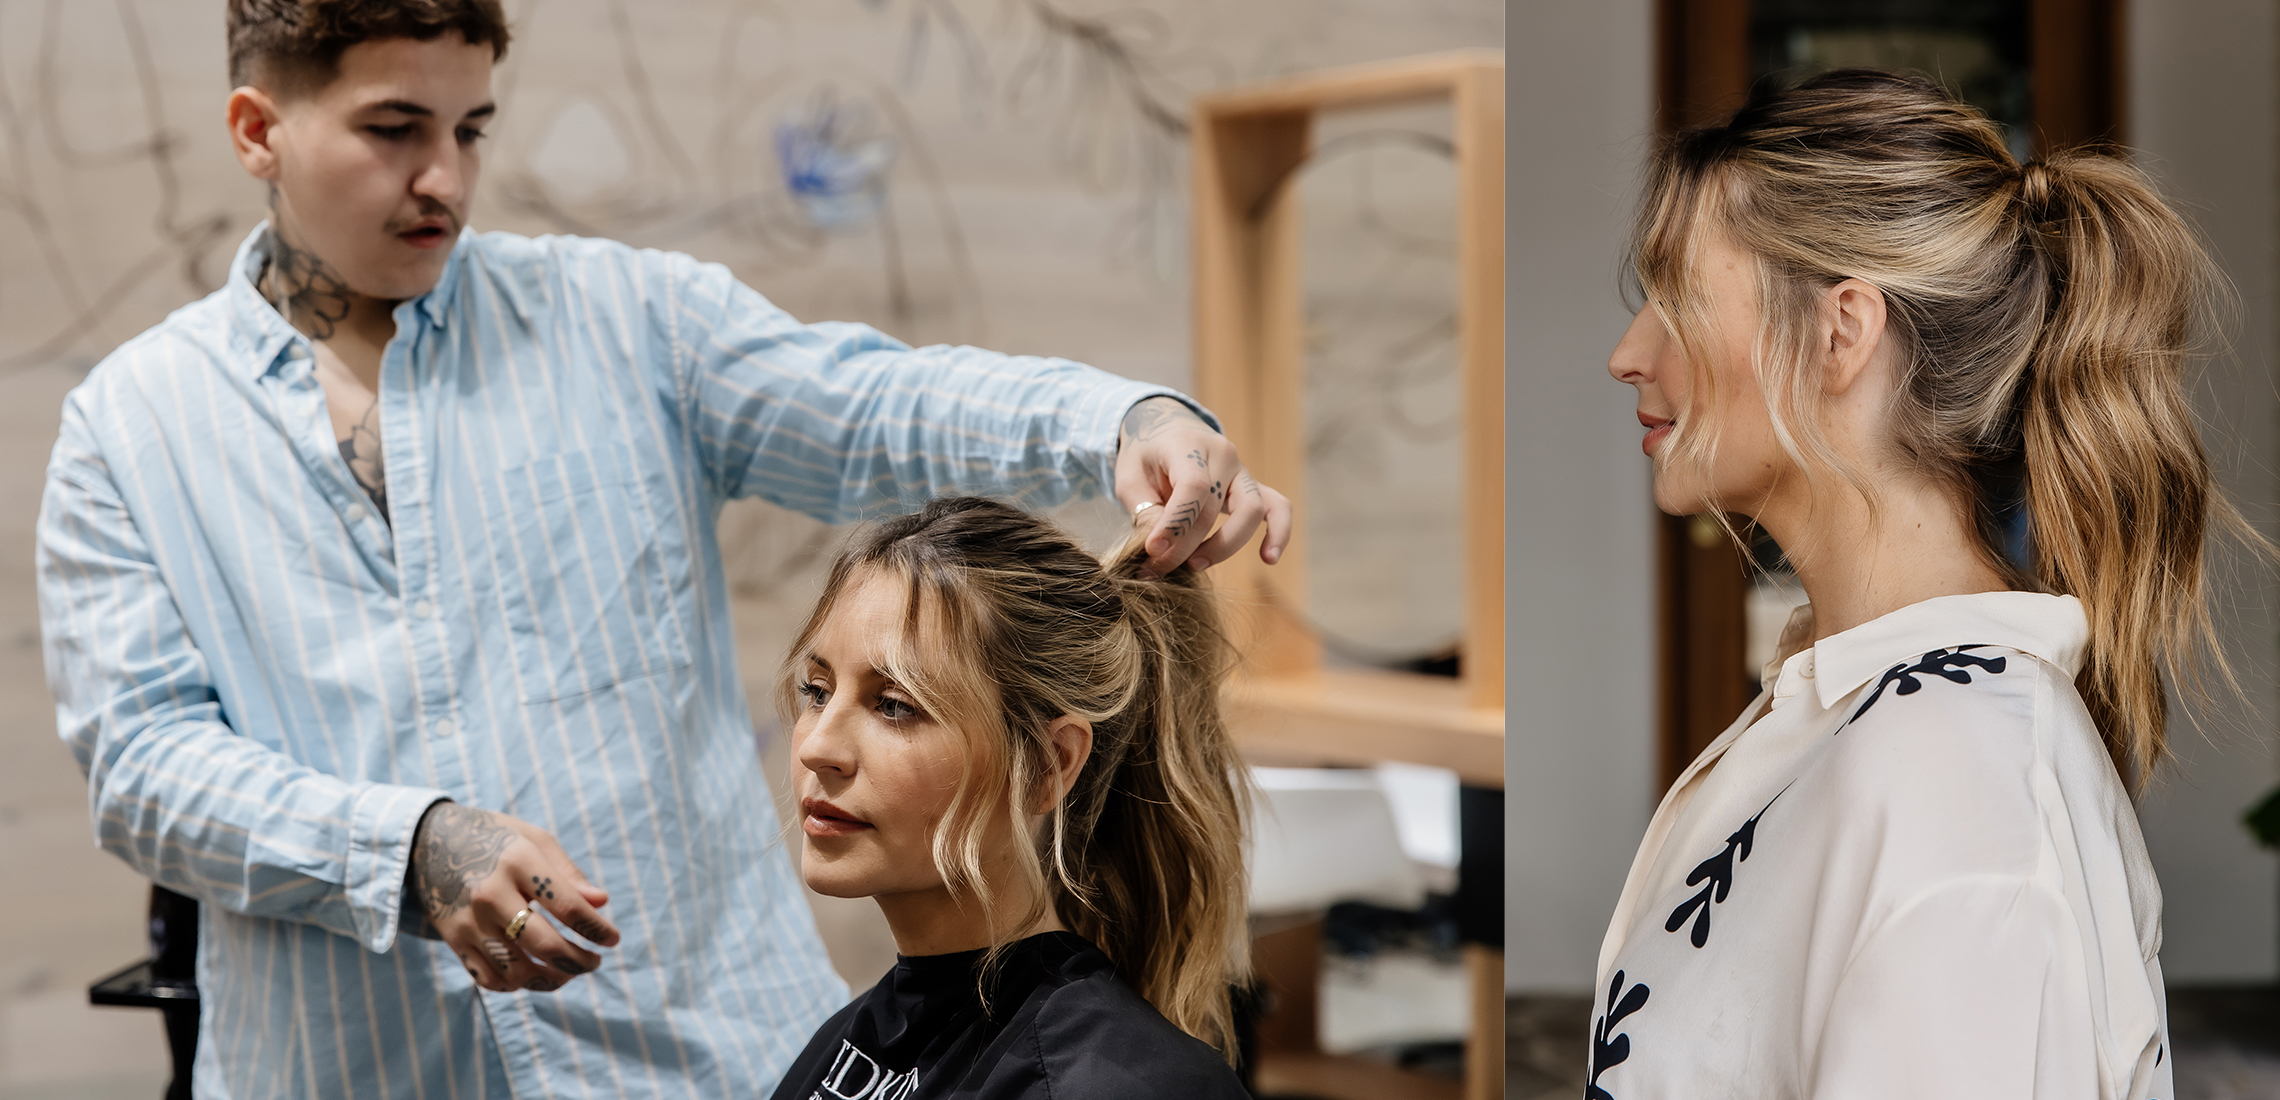
Day 2: Slept-in, soft textured pony
Time: 10 mins
You’ll need:
Wide tooth comb
Soft hairspray
Texture spray
With body and movement already established from day one, day two’s look is a total breeze to master. Take a small section of face-framing pieces on both sides and leave them out. Roughly brush the rest of the hair back with your fingers into a ponytail, trying not to smooth out the top too much. The more texture, the better! Tie your hair into a ponytail at the back of your head in the centre of your crown. Then, gently pull out small sections of hair around your ears and hairline. Tease your ponytail, and spray with texture spray to add volume. Finally, take a small section from the bottom of the pony (around 1-2cm) and wrap it around the base of the ponytail, then use hairspray to secure it in place. And away you go!
Day 3: The clipped bun

Time: 5 mins
You’ll need:
Soft hairspray
Butterfly clip
Olaplex (optional)
Day three hair (for some) can be on its last legs before a wash, but to get mileage out of your style, incorporate accessories. Like the day before, only with slightly less hair, take small sections from around your face. Next, pull the rest of your hair back into a low hold at the nape of your neck, and twist the hair on itself, wrapping around like a cinnamon bun. Leave the ends, around 4cm out, and clip into place with a butterfly clip. Be sure the ends are facing upwards, not down or to the side. Use hairspray to hold any flyaways around the base of the neck in place. And that’s a wrap (literally!).
Hot tip: If you want to make the look slicker, apply Olaplex to your hair, minus the bun. This will not only give you a wet-look effect, but is a great way to give your locks a pre-wash treatment!
Love these styles? So do we! See how you can make your hair work for you every day of the week with expert tips from Jaye Edwards – director of EdwardsAndCo – on how to rebrand your locks.